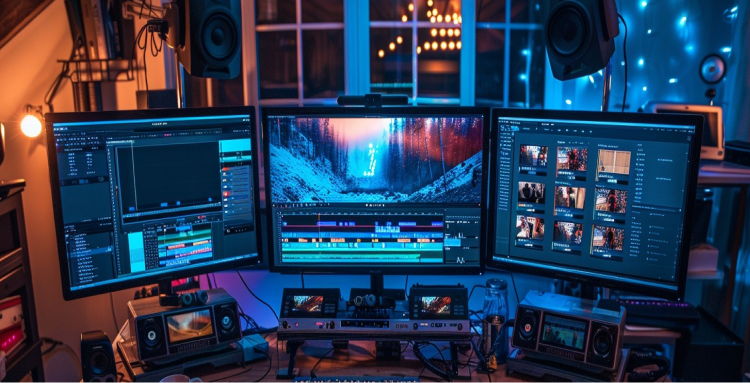
Agree or not, online videos are quite popular. I’m pretty sure you've watched a few shorts or video clips when you’re reading this article. Online videos have an audience reach of around 92.3% among internet users worldwide (according to video marketing statistics). In 2024, video streaming and downloads are expected to account for 82.5% of all worldwide internet traffic.
Bayshore understands how effective video can be in propelling your career, whether you're a single content developer, podcaster, or brand marketer.
However, getting started in video creation may be stressful, particularly for newcomers. I even remember, when I first thought about my own video production I was worried about where to start, how much equipment I needed or what budget I put on, do I need to start a really big setup or a small one that would be enough for my production. I know the last question most beginners have is – how big is the setup really necessary?
You see, most people have a video recorder in their pocket. When you can take out your phone to make a high-res video for TikTok or Instagram, do you really need to invest in dedicated tools for your videos?
The answer depends on your goals. How? For example, if you're just starting out, on a budget, or a hobbyist who cares more about content than high production quality, your phone might be all you need. It's a convenient and cost-effective way to create videos.
However, if you want to build an audience or market your brand, investing in the right videography equipment can improve your production process. High-quality equipment can significantly improve the audio and video quality of your content and reduce your recording and editing time. While you don’t need a large setup, the right tools can make a big difference in achieving professional results.
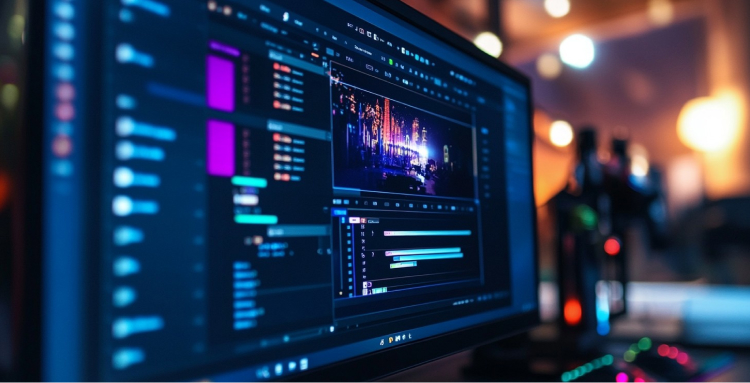
So, to get started with video production, you’ll need a few gears/equipment, and other necessary items that are a must. Let’s see what are they-
1. Camera: While professional video cameras are ideal, even a smartphone with decent video capabilities can work. Consider factors like resolution, frame rate, and low-light performance.
Additional-
Highly portable camera for carrying around easily.
A camera bag always comes in handy and protects your investment as well.
A shoulder mount rig for your camera improves stability during filming, especially for advanced users.
2. Lenses: During taking shots, you will need different types of lenses. A wide-angle lens captures more of the scene, a polarizer reduces glare and reflections, and a zoom lens allows you to get closer shots without moving.
3. Microphones: External microphones (such as Lavalier mics or shotgun mics) improve sound quality significantly. Avoid relying solely on your camera’s built-in mic.
Additional-
Boom poles position the microphone closer to the sound source for clearer recordings.
Audio cables connect your microphone to the camera or recorder.
Digital audio recorder provides even more control over audio capture.
Headphones are important for monitoring audio levels while recording.
4. Tripod: A sturdy tripod helps to take a steady shot. This item keeps your camera stable for clear, shake-free footage.
Additional-
Tripod dolly allows for smooth camera movements, especially for advanced users.
Other stabilization equipment like handheld gimbals or camera cages for more smooth, stabilized shots.
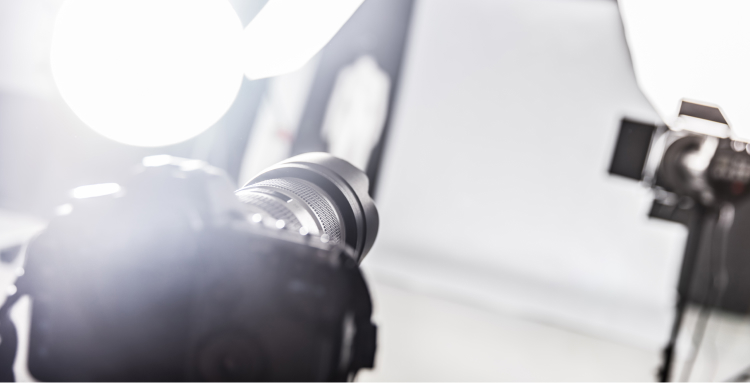
5. Lighting: Even basic light reflectors can dramatically improve the look of your video by softening shadows and adding brightness. Natural light or softbox lights indoors work well.
6. Battery: Always have spare batteries or a dummy battery for long shoots.
7. Editing software: Editing software is necessary for post-production. Choose video editing software (e.g., Adobe Premiere Pro, Final Cut Pro).
Additional-
Transcription service is also useful for adding captions or creating scripts.
8. Video editing hardware: A powerful computer with sufficient processing power and storage can handle video editing tasks efficiently. Depending on your setup, you might need additional hardware like graphics cards or external drives.
9. High-quality memory cards or videotapes: These are needed for storing your footage.
Additional-
Capture cards help transfer video from cameras to computers.
Hard drives for long-term storage so you can invest on that.
10. Script or Outline: Planning your content with a script or outline ensures a smooth production process and helps convey your message clearly.
11. Time and Patience: Video production can be time-consuming and challenging. Having enough time and patience is essential for creating high-quality videos.
However, there are some facts you need to consider when purchasing those equipment for video production. Whether your goal is creating a short clip for YouTube, Instagram, or a movie, choosing the right tools depends on your specific project. How can you decide that? Ask yourself-
First comes the budget. Do you have a limited amount? If yes then go for basic and must-have tools. Then you can add more later.
Then comes teams. Are you a one-person team or have a big group having a production manager, director, designer, scriptwriter, and other crew? Big teams need a big list of equipment.
Then comes formats. Are you planning to make a movie like Marvel or DC or just a simple marketing promotion video? Big shots like movies may require specialized technologies for recording diverse views, filming many scenes, and adding effects. Whereas a simple podcast won’t bother you that much.
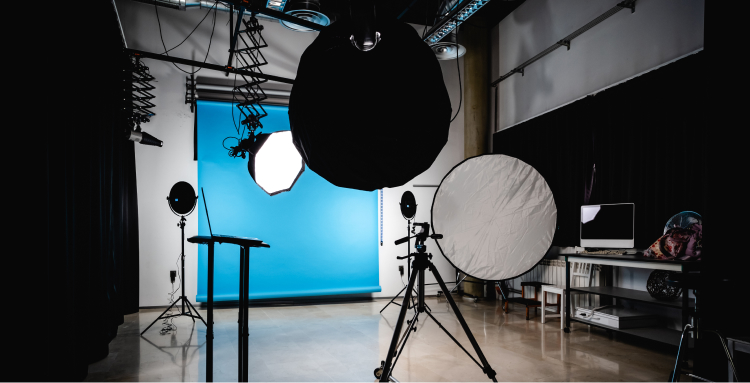
Setting up a video production studio involves careful planning and organization. Here's a step-by-step guide to help you create a functional and professional space:
Step 1. Plan Your Content According to Your Goals
Before diving in, take a moment to define your video goals. Are you creating explainer videos, product demos, or interview-style content? This will influence the overall design and functionality of your studio.
Who are you trying to reach? For example, a studio for educational content might utilize whiteboards or charts, while a gaming channel might benefit from a more immersive set design.
Step 2. Choose a quiet, well-light location/space
Ideally, your studio should be a quiet, well-lit space. Look for areas with minimal background noise and consider ways to manage any unavoidable sounds (e.g., soundproofing materials).
If possible, utilize natural light for a more natural look in your videos. Large windows facing north (in the Northern Hemisphere) or south (in the Southern Hemisphere) provide diffused light that's flattering for filming.
Step 3. Color your back walls with neutral paint.
Paint the walls in a neutral color (white, gray, or beige) to avoid visual distractions and provide a clean backdrop for your content. This also offers flexibility for different video styles without needing to be repainted for each project.
Step 4. Your backdrop needs to be simple and clean
Select a clean, clutter-free background that complements your content. Solid-colored fabric (muslin) or paper backdrops are popular options. Consider using a green screen for special effects if your video style requires it.
You can think outside the box for creative set design. For example, bookshelves, plants, or themed decorations can add personality to your videos. But be mindful of keeping it visually organized.
Step 5. Buy high quality camera with interchangeable lenses
A good quality camera with interchangeable lenses gives you creative freedom for various video styles. Research cameras that suit your budget and video goals. Also buy Tripods, gimbals, external microphones, and boom poles (if you’re shooting interviews or presentations).
Select other camera accessories like a video monitor, camera remote, and separate audio recorder to create better redundancy.
Step 6. Install proper lighting with perfect angle or position
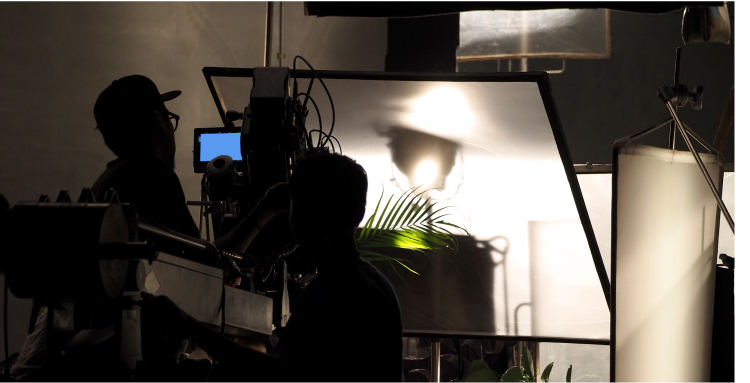
Softbox lights provide diffused, flattering light that minimizes harsh shadows. Experiment with different lighting positions (key light, fill light, backlight) to achieve the desired effect.
As mentioned earlier, natural light can be a valuable asset. However, be mindful of maintaining consistent lighting throughout your shoot. Invest in diffusers or dimmers to control the intensity of natural light if needed.
Most studios benefit from a simple three-point lighting setup:
The brightest light, positioned about 30 degrees to the side of your subject.
The second brightest light, placed 30-60 degrees on the opposite side of the key light to reduce shadows.
A small but bright light, positioned behind and above the subject, pointing down to create separation from the background.
Step 7. Set up microphones
Use a lavalier (lapel) mic, shotgun mic, or boom pole, to improve sound quality. Consider additional audio equipment like audio cables, a digital audio recorder, and headphones to monitor audio levels during recording. Here’s some tips for mic-
On-Camera Shotgun Mic
Attached to the camera's hot shoe mount.
Effective if the camera is less than 5 feet from the subject and the room has minimal reverb or echo.
Lavalier (Lapel) Mic:
Clips onto the collar with a wire running up the shirt.
Provides close proximity to the mouth, isolating unwanted sounds.
Recommended for most home studios.
Boom Mic:
A shotgun microphone positioned on a boom pole.
Allows for close placement to the subject while staying out of frame, ensuring high-quality sound.
Hand-Holding Mic:
Often used by podcasters and video game commentators.
Can be placed on a table stand or table clamp with an adjustable arm.
Viable if a large microphone in the frame is acceptable.
Step 8. Adjust your room's acoustics
Viewers are more likely to disengage with a video that has poor audio quality. Take steps to minimize background noise and echo in your recording space. Soft furnishings (rugs, curtains) or acoustic panels can help dampen sound and improve audio quality. Whereas Hard surfaces like bare walls can create unwanted echoes. For more professional-sounding audio, consider soundproofing materials or acoustic panels.
In the world of online videos, quality matters. Whether you're starting small or aiming big, choose tools that align with your goals. A smartphone can be a great start, but investing in professional equipment can elevate your content. Decide based on your ambitions and budget, and remember: great videos begin with the right setup.
If you’re ready to start creating impactful videos, check out our video production services to get you started today!